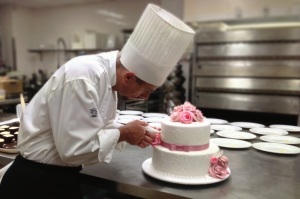
Novelty Cake Maker Reveals Cake Making Tips
 Perfecting cake making skills can take a lot of time, but that doesn’t mean you can’t create stunning novelty cakes with minimal effort. In this article you’ll see 6 essential skills and tips that if you focus on, will enable you to create most cake designs including amazing novelty cakes.
1. Making buttercream – this is a nice easy one to start with, the basic recipe we use 225grams of unsalted butter, 300 grams of icing sugar and a splash of milk. The trick with this is to cream the butter first with an electric whisk, add the icing sugar and then whisk further until fully combined and creamy.
2. Baking Sponge – a well baked sponge makes all the difference. To get a great tasting cake, preheat your over to 175 degrees celsius, combine 175 grams of unsalted butter, caster sugar and self raising flour and a teaspoon of vanilla extract. Add 1 egg, mix well and repeat with each egg until fully mixed. Grease an 8 inch round tin with butter, cover the sides and bottom with greaseproof paper, pour your cake mixture in to your tin and place in your oven for 30-40 minutes. Check at 30 minutes to see if your sponge is baked by inserting a cocktail stick in the centre of the cake, if it comes out clean you can take it out of the oven and leave it to cool. If the cocktail stick has cake mixture on it, leave it in for a further 5 minutes and check again until done.
3. Once you have the basics of making buttercream icing and baking sponge down you can practice coating the outside of your cake in buttercream with a palette knife and leaving it to harden a little. Use plenty of buttercream on your knife whilst spreading it on the cake and have a glass of warm water available. To create a smooth buttercream effect, dip your palette knife in the water and smooth the knife over the cake.
4. Working with novelty designs is easier than you might think – usually it will involve a bit of hand carving of cake using a sharp knife, we find a serrated edge or bread knife works really well for carving. Take little bits of cake away at a time and don’t try to get a perfect finish, you’ll be covering the cake and some imperfections will simply disappear once covered.
5. Have a few basics in your cupboard such as small pudding bowl tins, a variety of round a square cake tins and decorating tools like the stitching tool for adding a stitched effect to cakes.
6. Practice rolling and covering cakes with fondant, these skills are essential and can take a bit of practice. There is no need to roll your fondant really thin, go with 5mm thick to start with and as you get more confident try reducing the thickness of your fondant to 3mm. Once on the cake you’ll find thinner fondant easier to work with.
Article Source: http://EzineArticles.com/8139213


